Why Move A Plant?
There are many reasons for moving a plant. It may have outgrown it’s location. It may need more or less sun than it receives in it’s current location. Whatever the reason, the degree of difficulty depends on the size of the plant.
How to Move A Plant
For small plants, such as annuals, it’s just a matter of using a garden trowel to dig around the root ball and gently raising the plant (with root ball intact) out of it’s hole. Make sure you have already dug the hole for the new location, and used some of the soil from it’s current location to fill in the new hole. It’s a shock to the plant’s root system when it’s transplanted, so the new hole should have “familiar” soil.
Step #1 – Prepare the New Hole
We usually use a combination of natural soil, top soil such as Michigan Peat 5540 Garden Magic Top Soil, 40-Pound, and peat moss such as Espoma PTM8 8-Quart Organic Peat Moss
, when planting. For a plants such as perennials or shrubs, use a garden shovel such as Fiskars 46 Inch Steel D-handle Transplanting Spade (9654)
, to dig around the root ball of the plant. A garden shovel will have a sharp edge along the bottom, which is useful for cutting roots. It’s best to cut roots with a sharp edge so they will regenerate and grow back quickly. The new hole should be twice the size of the root ball, which gives the roots room to grow. If the ground is hard, such as clay soil, use a pick such as Truper 31614 5-Pound Pick Mattock with 36-Inch Fiberglass Handle
, to start the hole. Once you have a hole twice the size of your plant’s rootball, fill it halfway with a mixture of natural soil, top soil, and peat moss.
Step # 2 – Dig Up the Plant and Place in the New Hole
Lift the plant from the bottom of the rootball and gently place it in the hole. If the neck of the plant is level with the ground, fill the hole with the remaining soil mixture. If the neck of the plant is not level with the ground, adjust by removing soil or adding soil. Once the hole is filled in with the soil mixture, immediately apply water. For details on how much water to apply, click here. Apply water everyday for a week, so that the roots regenerate. After one week, apply an organic fertilizer such as Espoma PT4 4-Pound Plant-Tone Organic 5-3-3 Plant Food,
to feed the plant. For details on fertilizing, click here.
Step #3 – Observe Plant for Signs of Stress
The plant will experience stress after being transplanted. Signs of stress may include droopy leaves, yellowing leaves, dry leaves, pale stem/branches. Insects and pests like to attack a plant when it’s stressed, so beware. Keep an eye on the plant to make sure it recovers and begins to thrive. About 3 weeks after transplanting, the plant should have resumed it’s normal appearance.
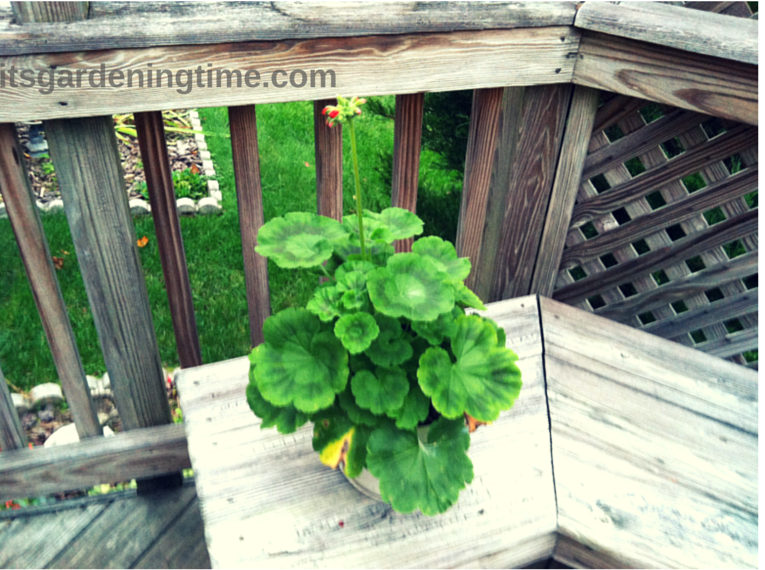
It’s been 8 weeks since we transplanted the baby geranium. See the below video to see how the baby geranium has grown!
It’s now been 12 weeks since we transplanted the baby geranium and she is ready to bloom. See video below:
For beginner gardeners, the most important aspect of transplanting is to protect the rootball. Handle the rootball very gently as you dig it up and move it to the new location. For more on planting, watch our How to Plant Playlist! Check your local Home Depot, Lowes, online Burpee Gardening or eBay for their selection of beautiful plants! To learn how to plant, fertilize and prune your way to a gorgeous garden, subscribe to our YouTube channel!
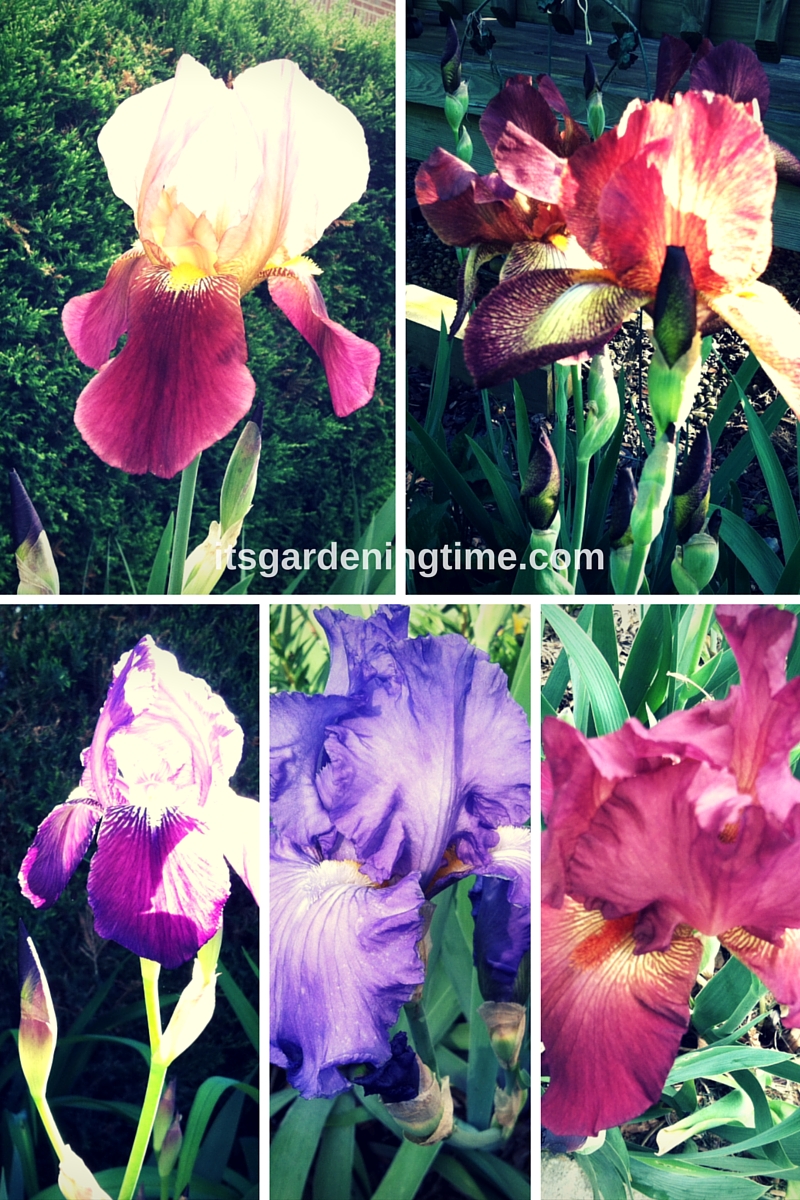
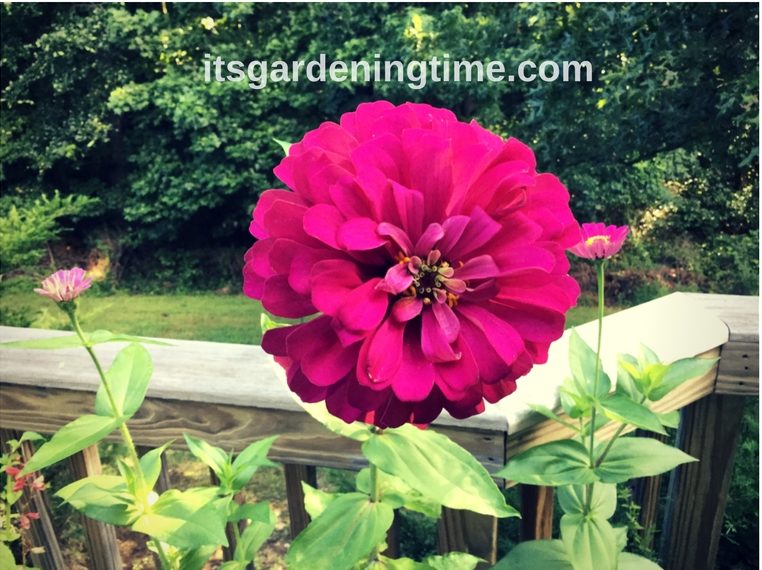
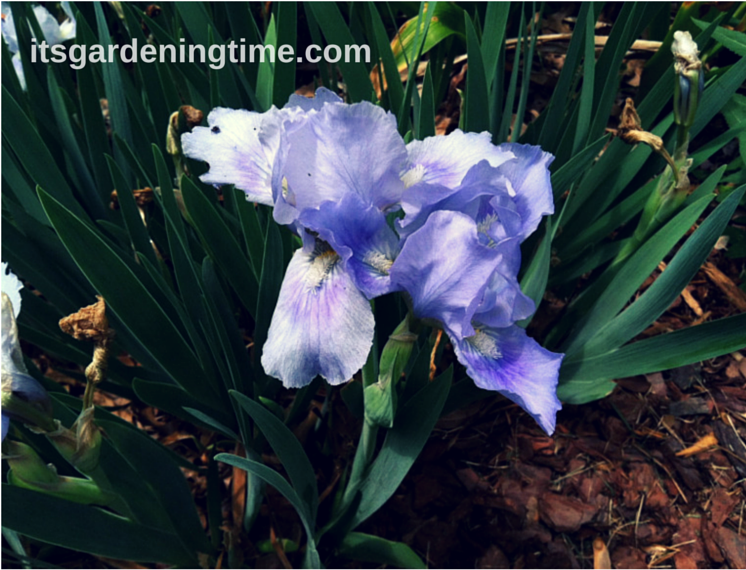
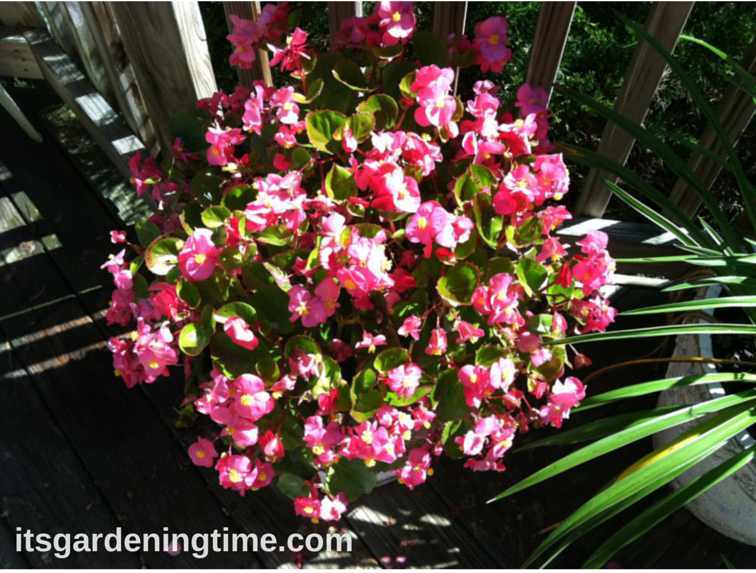
More from It's Gardening Time!
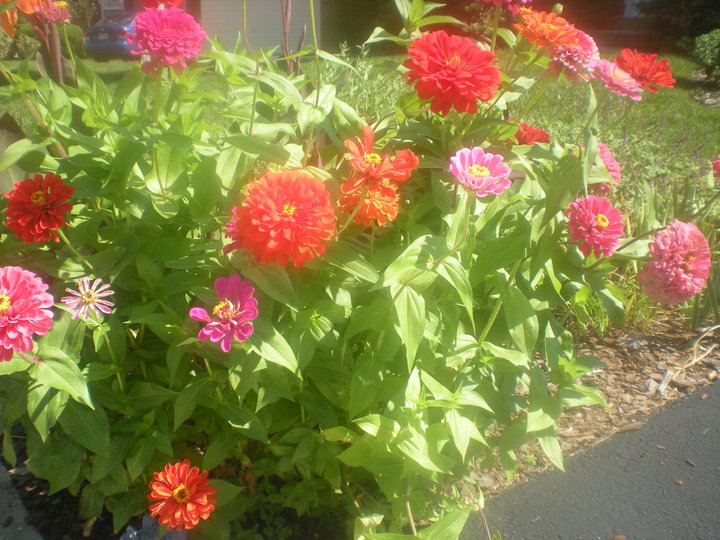
 Front Sidewalk #Garden is #LowMaintenance! #gardening
 #1 Maintenance-Free #Perennial in #MidAtlantic is …
 Virginia Beach Flora! #salvia #geraniums #marigolds #pachysandra #flower #flowers #garden
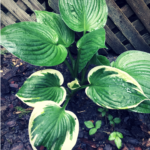 Grow Gorgeous Hostas in Your Garden! #garden #gardening #gardeningtips
 Heavenly Bamboo #Shrub Bursts With #Autumn Colors!
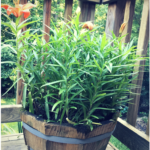 Grow #Lilies in #Containers! #containergardening #containergarden