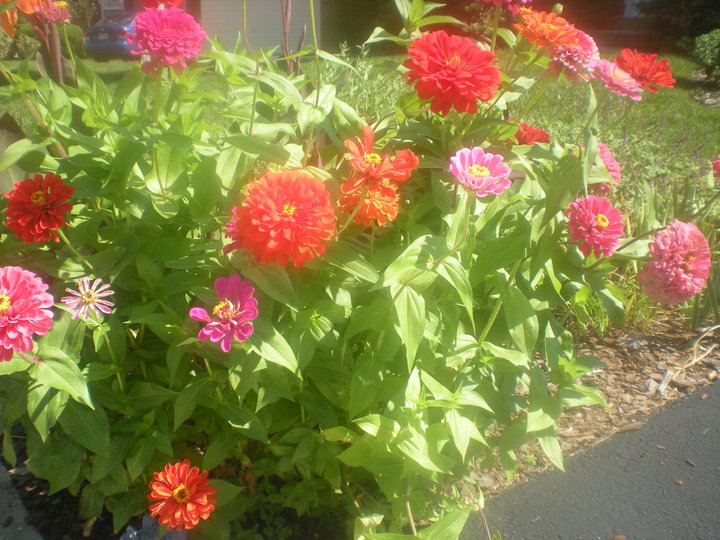
What are Annuals?
Annuals are plants that last for one growing season. If the soil and climate are warm enough throughout the winter, they can grow and bloom year after year. If the temperature drops below freezing, annuals will go dormant or die. In the Mid-Atlantic area, the soil stays warm until late Fall. If it doesn’t stay bitterly cold for an extended period of time, annuals may survive and bloom again after the winter. We have petunias, snapdragons, and red salvias in container pots that come back year after year.

Where To Plant Annuals
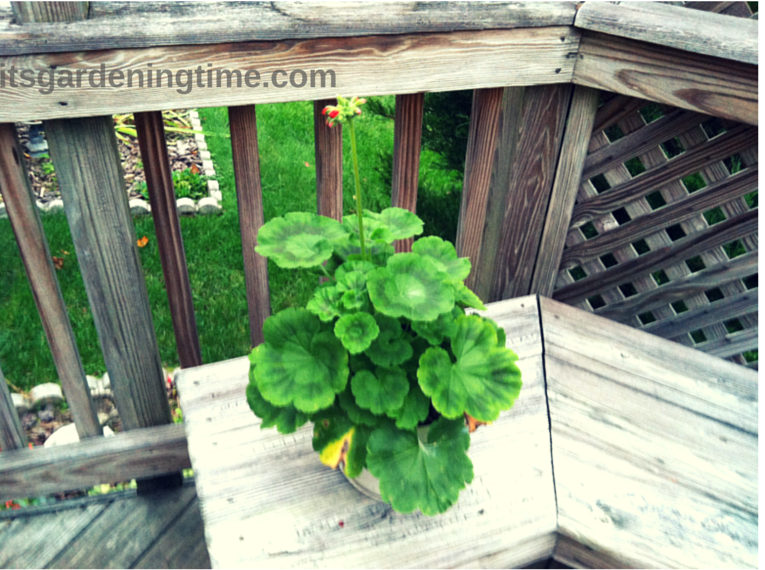
To plant annuals, you will need a gardening tool called a spade, top soil, peat moss, and water. If the plant is root-bound, which means the roots are crowded in the temporary pot, you will need a knife to cut the roots. Gather all of your tools, soil, and water and place them near your planting location. Your planting location should be suitable for your plant. For instance, if your plant likes full sun (e.g., geraniums), choose a location that receives at least 6 hours of sun per day. If your plant likes part sun (e.g., red salvia), choose a location that receives approximately 4 hours of sun per day. If your plant likes shade (e.g., impatiens), choose a location that receives little to no sun per day. Once you have selected an appropriate planting location, determine how large the plant will grow. If it’s a low growing plant, or less than 6-8 inches tall, it should be planted near the front of the garden. Larger plants should be located near the back of the garden.
Prepare the Hole
When you have gathered your gardening supplies and chosen a perfect location, use your spade to dig a hole twice as large as the root ball of your plant. The root ball is the packed soil surrounding the roots of your plant.The hole should be twice as large as the root ball because it gives the roots room to grow. Add nutrients to your soil by adding in some peat moss and top soil. Use some of the natural soil in your garden so that the roots will get acclimated to the type of soil in your area. Aim for one-third natural soil, one-third top soil, and one-third peat moss.
How to Remove the Plant from Pot and Plant It
Gradually squeeze the plant from the bottom of the container, careful not to damage the plan, roots, or neck of the plant. Please do not pull the plant from the top because it may damage the plant. Once you have carefully removed the plant from the temporary container, use a knife to cut the roots if they are wrapped around the rootball. Make one slice, length-wise, per side. Use your hand or the spade to move the soil mixture so that you can place the rootball in the hole. The neck of the plant should be level with the ground. Fill in around the plant with soil mixture. Please do not cover the neck of the plant. The top of the soil should be just below the neck of the plant. Use your hands to gently pack the soil around the plant and smooth out the soil. Water the soil around the plant. Smooth out the soil again. Water the plant everyday for the first week so that the roots can grow. Wait for a week or two before applying fertilizer.
To view more planting videos, click here or watch our How to Plant Playlist! For beginner gardeners, how often to water plants is critical to the success of your garden! For 5 Ways to Know When to Water, click here. Check your local Home Depot, Lowe’s, online Burpee Gardening or eBay for their selection of flowers! To learn how to plant, fertilize and prune your way to a gorgeous garden, subscribe to our YouTube channel!
More from It's Gardening Time!
 Grow #Lilies in #Containers! #containergardening #containergarden
 Grow Tropical Cannas in Containers! #flower #flowers
 4 Huge Hanging Baskets! #container #containergarden
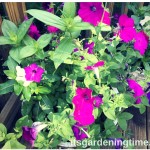 4 Benefits of #ContainerGardening! #garden
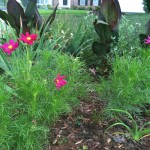 Why #Fertilize #Flowers? #flowerpower #fertilizing #flower
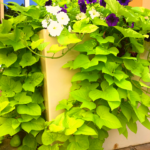 Huge #Container of Sweet Potato Vine & Petunias! #containergarden #containergardening